Skip to content

Category: Tutorials

MPLS Traffic Engineering – Review

I wanted to review the basics of MPLS and Traffic Engineering (TE) so I went to my favorite networking blog and searched for RSVP and found the following articles:

Although the articles were incredible and clearly explained the technologies, it also clearly demonstrated how complex ‘legacy’ MPLS technologies are. UPDATE: I recently found about PacketDesign and got very excited by the material they put out there. Their white paper on MPLS-TE is one of the best pieces I’ve seen on the subject!  I urge you to check it out.

This article is divided into 4 sections: First, I mention reasons for MPLS forwarding. Second, I go through some of the motivations behind Traffic Engineering technologies. Then, I briefly explain Segment Routing, and I conclude with a tutorial on how ONOS can achieve TE using an SR SDN application on top of OpenFlow.

Why MPLS at all?

To reduce network state.
Today, The full Internet routing table includes +600.000 routes. Routing this by itself is already complicated. Now what if you took different paths for different Classes of Service (CoS), you could easily reach 2M routes. With MPLS, you basically can aggregate several network prefixes into labels, reducing the state drastically. The articles I mentioned at the beginning go through some of those numbers. A Segment Routing (SR) architecture can reduce this number even further to the order of the number of network devices. ps: SR can also be achieved with IPV6 encapsulation.

Why Traffic Engineering?

To save money!! $$$$

Diptanshu Singh explains this subject wonderfully, so I urge you to check his article if you need a more detailed explanation.

For instance, say the Comcast network in your neighborhood has 1 Gbps of VOIP and 4 Gbps of data traffic demand. It’s overprovisioned by 50%, so its 10G links suffice at the moment. Now, suppose its traffic increases 20% next year, sustaining this strategy would require an immediate upgrade of the infrastructure.

A Diffserv strategy would change resource allocation rates: One could instead allocate a 2x overprovision rate for VOIP and a 1.2x overprovision for data. Resulting in 2.4+6 Gbps total of bandwidth ( 1G*120%*2, voice data plus 20% increase times 2x overprovision rate) Next year, you would have 2.8+7.2 Gbps of data, still smaller than 10G.  With this approach, Comcast can delay its backbone upgrade for 2 years and can still adhere to the SLA’s required for sensitive traffic.

With the first rule, your expansion rate is dictated by generic traffic growth because you must keep network utilization low. On the second case, your expansion rate is mandated by critical traffic growth and networking equipment life-cycle (at your convenience). Critical traffic is 5x smaller than best-effort, thus your expansion rate would be 5x lower if you don’t care about best-effort traffic.

Now you have the opportunity to reduce your expansion budget by a factor of 5 and invest that money on engineering power. I’m sure that’s what Google saw 10 years ago when it started heavily investing in its networking technology. Bad Vendors will often say ‘you don’t need QoS or Traffic Engineering’, the problem can be solved with more bandwidth. That’s a convenient message if you sell bandwidth.

Why Segment Routing?

I wanted to compare legacy technologies (RSVP, LDP) with SR, but I realized that is pointless. To me, the only reason you would use legacy is for backward compatibility with existent equipment. Don’t get me wrong, RSVP will get the job done. Also, you may not be able to afford replacing it with SR or maybe your RSVP infrastructure works perfectly and you already have proper processes in place.

That all said, SR is just simpler and better. To learn more about RSVP check for yourself: http://packetpushers.net/rsvp-te-protocol-deep-dive/. If you know nothing about SR check http://www.segment-routing.net/.

In summary, SR is a network architecture that allows the network to keep no flow-state. Rather than only forwarding packets based on IP destination address, they are forwarded based on the segment address. The network maintains shortest path forwarding state information to each segment and backup paths to implement fast reroute. Fast reroute by itself is worth money, SR TILFA allows for sub 50ms failure recovery.

Additionally, The architecture allows you to enforce loose source routing. For example, say, IGP OSPF will give a 40ms path, to steer your VoIP traffic through a node 104, you would just change your routing at the edge of the network to include that segment before the end destination.

 SR

Tutorial

I already wrote a tutorial on this 2 years ago. I’m just going to highlight the main points.

Screen Shot 2015-08-13 at 4.46.02 PM.png

In this configuration, you have a cluster of 3 ONOS SDN controllers controlling a leaf-spine fabric. The entry-nodes, do a route lookup and encapsulate the packets with the MPLS label correspondent to the exit-node. The packet is then forwarded using shortest path based on the MPLS label. That’s basic IP forwarding. The cool thing here is the ability to programmatically set forwarding tunnels.

Let’s say you want all Netflix traffic to go through spine s105, thus making sure all Web and Voice traffic has 3 spines worth of bandwidth and thus lower delays, you could establish a tunnel in the following way:

A tunnel is defined as a set of LABELS, defining the path taken by a flow. The following command instantiates a tunnel called FASTPATH through the routers 101, 105, and 102 in that order.

onos> srtunnel-add FASTPATH 101,105,102

Then, a policy can be applied to a subset of traffic, for example,  policy1 = tcp_port=80 >> fwd( TUNNEL_1)

onos> srpolicy-add p1 1000 10.1.1.1/24 80 10.0.2.2/24 80 TCP TUNNEL_FLOW FASTPATH

This tunnels can be used to reinforce TE policies and guarantee SLAs and improve network utilization.

Conclusion

A Segment Routing network combined with a centralized controller for path computation can enable advanced Real-Time traffic engineering capabilities. In this way, Segment Routing is a perfect match for SDN.

The SDN applications have already been developed and made available in open-source projects like ONOS. The Segment Routing app mentioned has evolved to TRELLIS which is the networking fabric that supports the Cord project. I urge you to check their work.

Please reach out to me if you have any questions regarding how one could move forward and implement this.


Leave a Comment
Visualizing Sflow data with Ntop and Nprobe on Ubuntu 16.04

Open Source tools can be useful if you need to put something together easily.

I was able to use Nprobe to visualize real time traffic observed via Sflow. Here is how you install it on Ubuntu 16.04.

wget http://apt.ntop.org/16.04/all/apt-ntop.deb
dpkg -i apt-ntop.deb

apt-get clean all
apt-get update
apt-get install pfring nprobe ntopng ntopng-data n2disk cento

Nprobe works as a Sflow collector and consumes the data generated by the switches. Nprobe, then, exports the data to Ntop.

To start Nprobe run:

sudo nprobe –collector-port 6343 –zmq “tcp://127.0.0.1:5556” -i none -n none

To start Ntop make sure you properly configured:

–interface=tcp://127.0.0.1:5556
–http-port=4000

Then restart the service:

sudo service ntopng restart

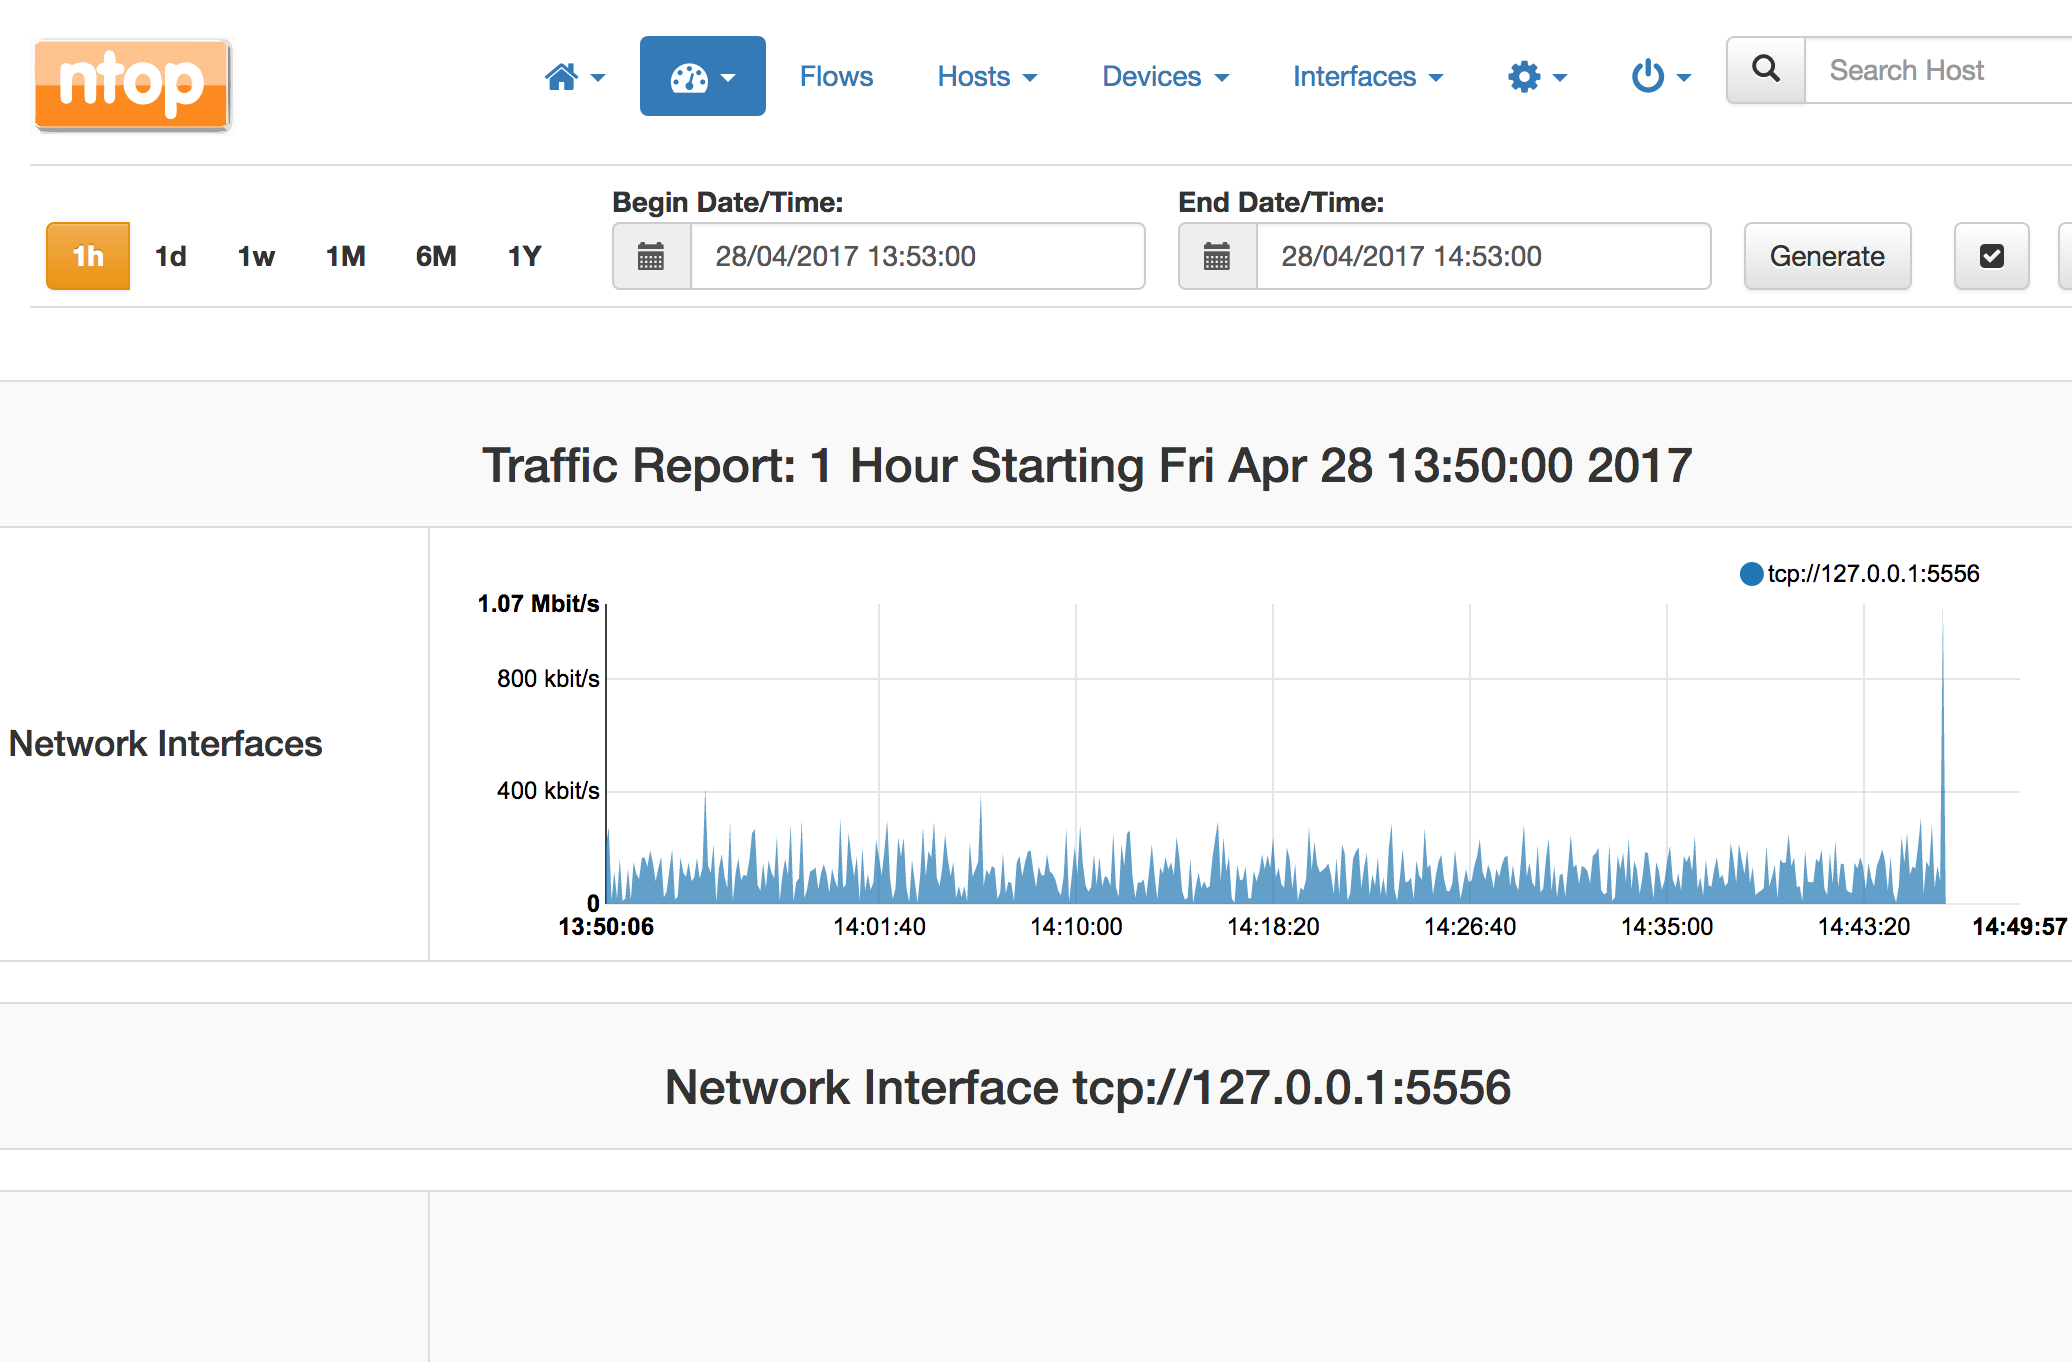
Then access http://127.0.0.1:4000, login with admin, admin and you can see something like this:

Screen Shot 2017-04-28 at 2.53.27 PM


1 Comment

Troubleshooting Shortest Path and Topology Discovery on RYU

This post is a follow-up to Shortest Path forwarding with Openflow on RYU.

I originally made this code to show how to use SDN to achieve one of the most basic things you can do in a network: shortest path forwarding. In this post I’m answering common question on getting the code to work.

Quickstart:

Assuming you have all the dependencies, you should be able to run a mininet topology using:

sudo mn --topo=tree,4 --controller remote

After starting mininet start RYU using the following command:

bin/ryu-manager --observe-links ryu/app/sp.py

In my computer this is sufficient to discover the topology.

Now, let’s move on to the questions:

1 – Why do I see an empty or incomplete list of links?

Honestly, I’m not super familiar with the RYU topology app, so I don’t know. What works trying to restart Ryu/Mininet in different orders, so stop both applications and try starting Ryu first, if that doesn’t work do the opposite. Repeat until it works.

2 – Does it still work with a loop in the topology?

As far as my tests go it does work with a loop in the topology.

3 – Does it still work with a Spanning Tree?

To test it I start mininet,  setup spanning tree using ovs-vsctl, then I start RYU. After RYU learns the topology it successfully lets the pings go through.

I had to restart RYU a couple times until it learned the topology

4- Why do I see so many packet-ins?

I did not care to handle floodstorms when I coded this, so if your topology has a loop and spanning-tree isn’t set, ARP and other types of flooded packets may be broadcast forever in your network

5 – Can I use another algorithm or set custom weights?

Yes. To set custom weights you just have to figure out how to add that information to the network graph. I’ll try to give an example for this soon.

1 Comment

VMware ESXI Home Lab

I recently bought an Intel NUC 6th generation in order to build my own VMware ESXi lab. This is my first home lab and the first PC I ever built so I’m excited.

I’m building this for two reasons, one my laptop has a small SSD preventing me from having a bunch of VMs. Second, I’m attempting to get a CCNP certification and I’d like do setup a virtual lab for that.

Bill of materials

I decided to go for the i5 simply because the i7 design wouldn’t allow me to have a HD, while the one I got has space and a connection for a SATA disk.

I also had to buy a keyboard to complete ESXI installation. I bought the NUC with the 256 SSD included on Ebay for 390. The total price was 616 U$ which makes me pretty glad for an I5 machine with plenty of storage and fast SSD if needed.

Assembly

Assembly was straightforward and I used this video as reference.

Installation

Installation is simple and consists of 4 steps:

  • Downloading ESXi iso
  • Creating bootable ESXi usb drive from image using RUFUS
  • Installing and configuring ESXi
  • Installing GNS3 from OVA

I will come back here and put a link to download the ESXi iso, basically vmware can provide you this.

Rufus is also very straightforward and can be downloaded here.

Configuring ESXi could be tricky, but don’t pay attention to details, simply enable ssh and set a static IP address and you should be fine. Next you can download a Vsphere client from the ESXi machine. And you can also use the web browser.

I couldn’t create a VM from the OVA using the web client, so I recommend you to use the vsphere client.

If you need a step-by-step guide. I recommend you to check this youtube guide on how to install ESXI 6.0

In my next blog, I’ll post my experiences with GNS3.

ps: I wish I had installed ESXi with an SD card, just because I think it’s cool. I also wish you could deploy a VM from an OVA in the ESXi storage because that would make it much faster.

I’m also a little pissed because VIRL requires an 200$ license. I haven’t tested it yet but I have the feeling that for learning purposes INE would be much more cost effective, and I doubt VIRL will provide a seamless experience.

Thanks for reading. 🙂

Leave a Comment

Easiest way to develop on ONOS

I just started interning at the ON.LAB. We are developing the ONOS controller and other things.

The learning curve for ONOS is a bit of a challenge compared to its python competitors. But it has several features that a carrier-grade controller need and make the effort worth. To me, the two most important things are:

  • The Flow-objective abstraction
  • High-availability mechanisms

I’ll talk more about them in another posts.

Today I’ll show you the easiest way to setup your development environment.

cd ~   
git clone https://gerrit.onosproject.org/onos   
. ~/onos/tools/dev/bash_profile   
onos-setup-ubuntu-devenv   
cd onos
mci   

This will take a while to finish… While you are waiting check this another post with a series of very explicative videos about ONOS.

After it done do.

ok clean

That’s it the controller is on.

For detailed information check the ONOS from Scratch tutorial

I hope this was helpful

Leave a Comment

Setting up OpenVswitch and Mininet 2.2 on Ubuntu 14.04

In this tutorial I’ll briefly describe how to perform a standard installation of Mininet. This tutorial should work on Ubuntu 14.04.

sudo apt-get update
sudo apt-get install -y git
git clone git://github.com/mininet/mininet
cd mininet
git checkout -b 2.2.0 2.2.0
util/install.sh -nfv

Do install.sh -h to explore additional options.

3 Comments

Shortest Path forwarding with Openflow on RYU

So, Openflow doesn’t do shortest path forwarding? How can a network architecture NOT do shortest path forwarding? SDN is BS.

Yes, Openflow doesn’t do shortest path forwarding by itself, in fact, it doesn’t do anything by itself. Openflow is a tool that allows you to programmatically control your network devices.

However, it gives you the power to do it. In this post I’ll guide you through the development of a shortest-path forwarding network application using the RYU Controller and Openflow. Hopefully I’ll post a few thoughts on different forwarding schemes and Openflow.

For this tutorial, I’m assuming you are familiar with Openflow, Mininet and RYU. If you are not, go ahead and check this other posts. I’m using RYU, which is an OpenFlow Controller written in python with support to OpenFlow 1.3. To know more about it visit their website

To install RYU you can easily do pip install ryu and BOOM! If it doesn’t work you can try using the Mininet installation script with the -y option.

The network application will be organized in three blocks:

  • topology discovery
  • network view construction
  • forwarding

For the topology discovery we’ll use a RYU module/library called topology. For network view construction we’ll use an awesome python graph library called networkX. For forwarding we’ll use OpenFlow.

42 Comments

OpenDaylight Tutorial – Basic Setup

In this tutorial we will go through basic setup of the OpenDaylight Controller (ODL).

I am supposing that you have already installed the latest version of ODL. If not I suggest you to simply deploy a VM with everything you need.

First, start the controller.

sudo-s
cd controller-sp/opendaylight/
bash run.sh -start

Then, be patient.

Initialization was very slow (10 to 15 min) and buggy for me, you can check if everything is fine by doing this:

bash run.sh -status

You should get an output like this:

Controller with PID: 2363 -- Running!

If you get anything different like:

Doesn't seem any Controller daemon is currently running, at least no PID file has been found

Then you should try to wait few minutes then check it again. If the problem persists you should stop the controller then try to start it again. If it persists again, try rebooting the system.

bash run.sh -stop
Controller with PID: 2363 -- Stopped!

After the controller is running simply create a Mininet topology for it with:

sudo mn --controller=remote,ip=127.0.0.1 --topo tree,2

After that try to access the OpenDayLight Web Interface by accessing http:// [ODL_IP_ADDRESS]:8080.

Then go back to mininet and ping two hosts then refresh ODL again.

Pretty interesting huh?

2 Comments